Create a Glue Dev Endpoint
ETL using AWS Glue
In the data lake we currently have files directly matching our relational database tables, and written in Parquet format. However, there are additional transformations that are typically done for data in the data lake to further optimize for analytics. This includes tasks like:
- Joining tables to denormalize, or flatten, data
- Dropping unneeded columns (such as columns related to foreign keys that are not needed once the data has been flattened)
- Partitioning data
A common pattern is to keep a copy of the raw data as is, and over time to archive this data. Therefore our ETL jobs will write the files containing the additional transformations to a separate area of the data lake, which for this lab we are referring to as the transformed tier of data.
Create a Glue development endpoint
A Glue development endpoint provides us with a Spark cluster that we can attach a SageMaker Jupyter notebook to in order to interactively develop and debug our PySpark based ETL code.
Login to the AWS Management console (https://console.aws.amazon.com) as the ‘lf-admin’ user and navigate to the AWS Glue service. Ensure that you are in the “N. Virginia” region.
If the welcome screen appears, click on ‘Get started’, and then on the left-hand side, click on Dev Endpoints and then Add Endpoint
Provide an endpoint name (such as
datalake-lab-endpoint) and set the role to LF-GlueServiceRoleExpand Security configuration, script libraries and job parameters and set Data Processing Units to 3.
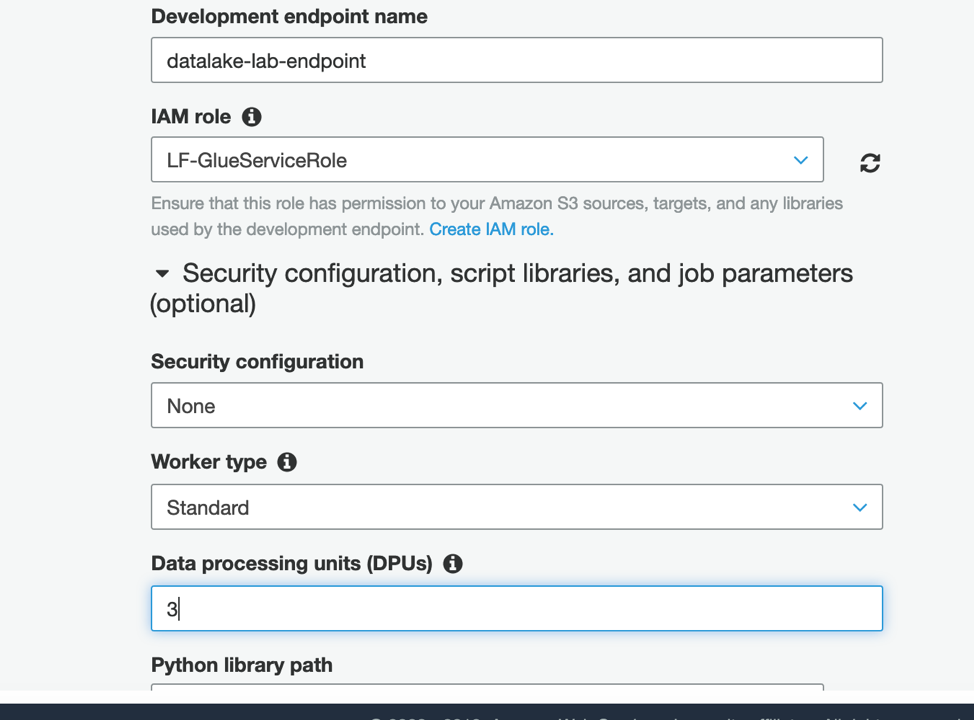
Leave other fields as default, click Next. Click Next on the following two screens (networking and SSH public key). On the Review page click Finish
As the development endpoint is being configured, status will start as Provisioning and complete as Ready. While this completes you can continue with the next section (Athena Workgroups) and then we’ll come back to our development endpoint