Deploy CloudFormation Template
If you are running this workshop at an AWS event, your host may have created an AWS account for you to use, and they may have already deployed the template for this lab into that account. As such, if at an AWS Event using Event Engine, follow the instructions from your host as to whether you need to manually deploy the CloudFormation template or not.
If you are running this lab in your own account, follow the steps below to deploy a CloudFormation template in your account. This will deploy resources required for this lab (such as a database server, S3 buckets, etc). NOTE that your AWS account will be billed for all resources deployed by this template, so make sure you follow the steps to clean-up these resources at the end of the lab.
The CloudFormation template will require you to provide an Amazon EC2 key pair. if you already have an EC2 key pair, proceed to the “Deploy CloudFormation Template” step below.
Create EC2 Key Pair
- Open the Amazon EC2 console at https://console.aws.amazon.com/ec2/
- In the navigation pane, under NETWORK & SECURITY, choose Key Pairs.
- Choose Create Key Pair.
- For Key pair name, enter a name for the new key pair, and then choose Create.
- The private key file is automatically downloaded by your browser. The base file name is the name you specified as the name of your key pair, and the file name extension is .pem.
Deploy CloudFormation Template
- To launch the CloudFormation stack, right-click on Launch Stack below.

- Note that this will take approximately 12 - 14 minutes to complete the deployment.
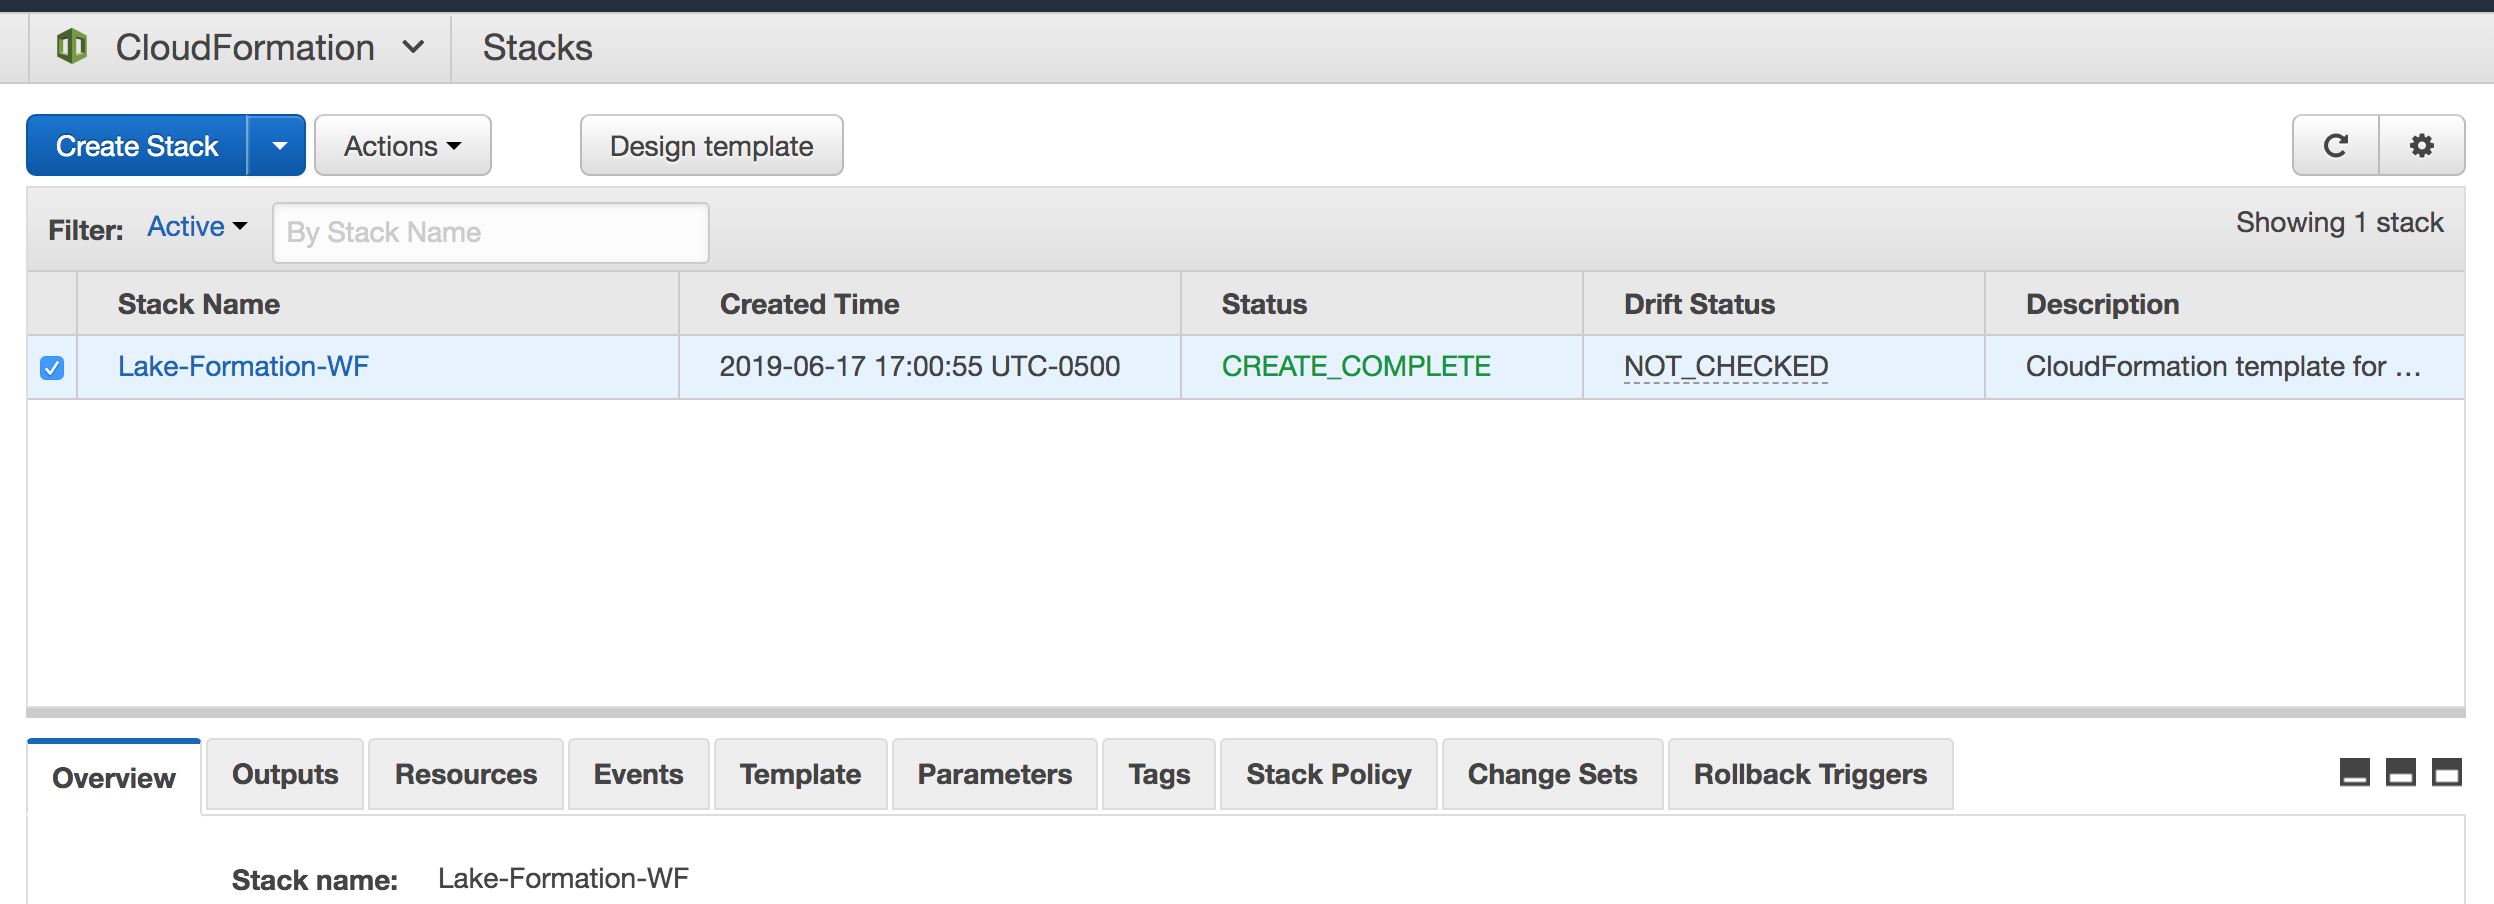
- Check the CloudFormation console and wait for the status CREATE_COMPLETE as shown below:
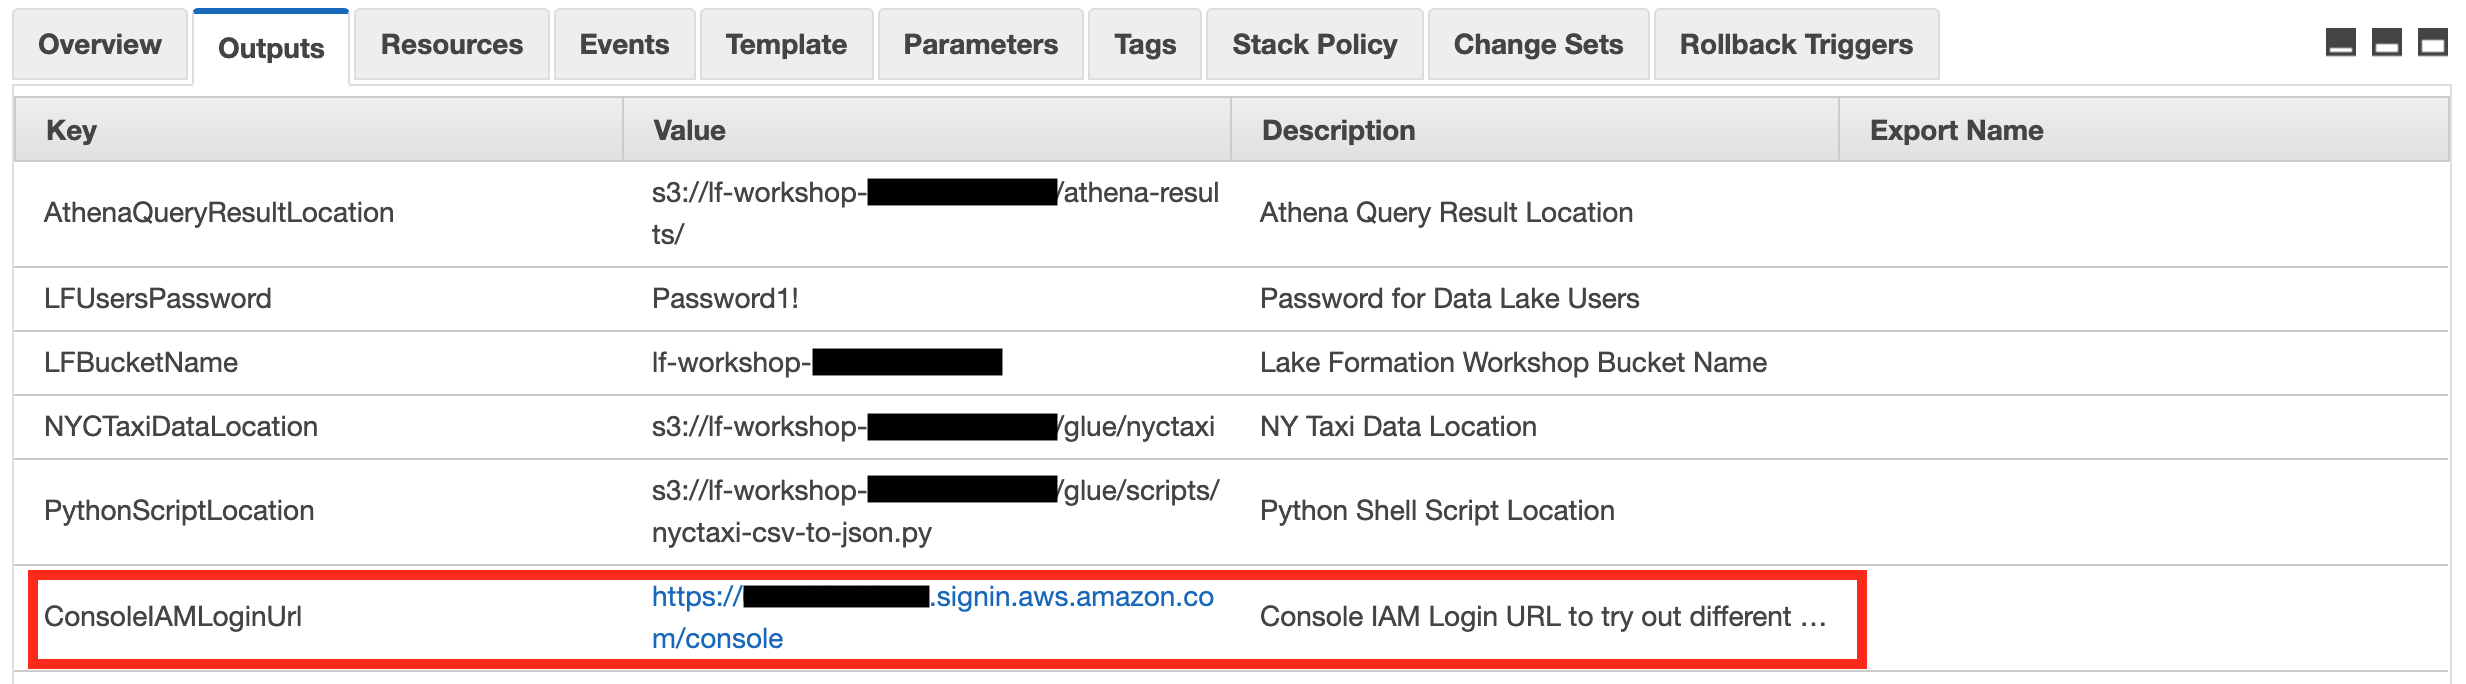
- Once the stack creation is completed, your AWS account will have all required resources to run this workshop. Capture the data lake bucket name, password, and Athena query result output location from the output tab and proceed to “Part 1 - Lake Formation”